Setting up a workpiece in CNC machining is like preparing a stage for a performance. If the setup isn’t right, the final product won’t meet expectations. Proper workpiece setup ensures precision, efficiency, and safety in the machining process. Let’s explore the essential aspects of workpiece setup, including installation methods, support devices, and practical tips to optimize your CNC operations.
The Importance of Proper Workpiece Setup
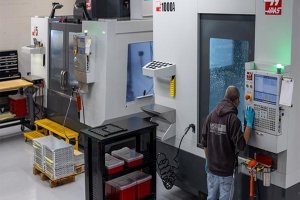
The way a workpiece is set up on a CNC machine can significantly affect the outcome of the machining process. Proper setup ensures that the material is securely held in place, preventing movement or vibration that can lead to inaccuracies or damage. It also facilitates efficient machining, allowing for smoother operations and reduced cycle times.
Installation Methods and Support Devices
Different CNC machines require different installation methods and support devices. Here are some common methods and devices used in CNC machining:
- Vises and Clamps: These are used to hold the workpiece firmly in place. Vises are ideal for smaller parts, while clamps can be adjusted for larger or irregularly shaped pieces.
- Chucks: Commonly used in CNC lathes, chucks secure cylindrical workpieces. They come in various types, including three-jaw, four-jaw, and collet chucks, each offering different levels of grip and precision.
- Fixtures: Custom fixtures are designed for specific parts and ensure consistent, repeatable setups. They are especially useful for complex or high-volume production runs.
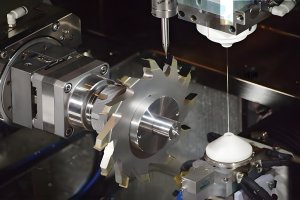
- Tailstocks and Steady Rests: These provide additional support for long or slender workpieces, preventing deflection and ensuring accurate machining along the entire length.
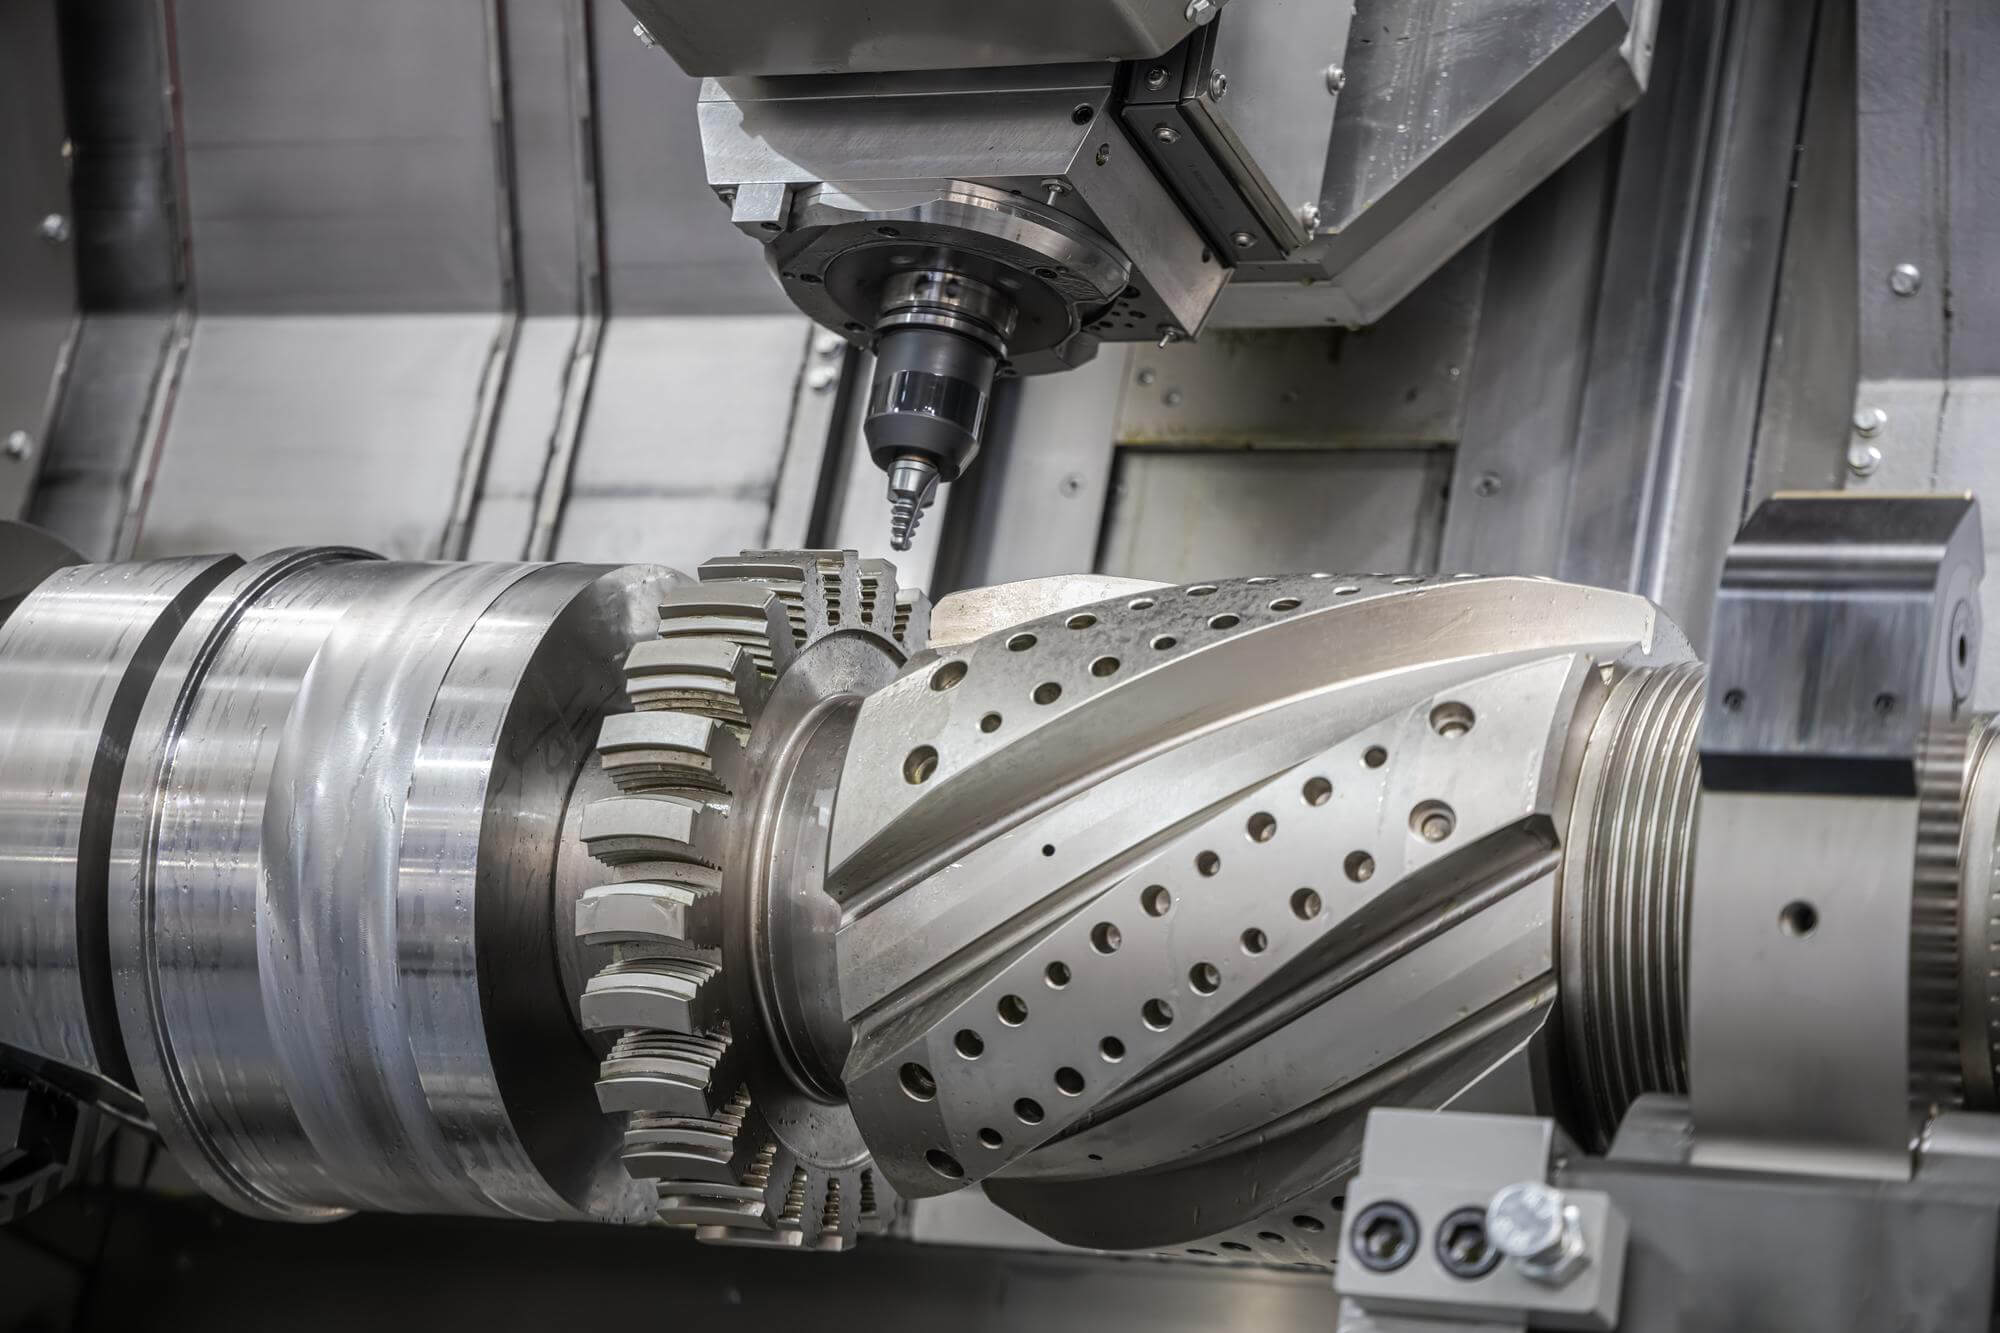
Multi-Axis Machining and Automated Solutions
Multi-axis machining centers and lathes can handle multiple workpieces simultaneously, significantly improving efficiency. Special features like tool offset settings, bar feeders for lathes, automatic pallet changers, and multi-position setups on worktables further enhance productivity.
Creating a Setup Sheet
Once you’ve determined the setup method, creating a setup sheet is a smart move. A setup sheet is a simple sketch or document used at the machine to show the workpiece positioning, tool offset numbers, and reference points. It also includes all necessary labels and notes, such as clamp positions, clamp sizes, clamping depth, and tool range limits.
Here’s an example of what a setup sheet might include:
| Item | Description |
|---|---|
| Workpiece | Aluminum block, 100x50x30 mm |
| Vise Position | Centered on worktable |
| Clamp Type | Adjustable clamps |
| Clamp Size | 50 mm |
| Clamping Depth | 10 mm |
| Tool Offsets | T01, T02, T03 |
| Reference Point | G54 |
| Special Notes | Ensure clamps do not obstruct tool path |
This setup sheet helps the machine operator understand the exact positioning and requirements, ensuring a smooth and accurate machining process.
Practical Tips for Optimizing Workpiece Setup
- Plan Ahead: Think about the entire machining process when setting up the workpiece. Consider how each operation will be performed and ensure the setup allows for easy access and movement of the tools.
- Use the Right Tools: Ensure that all clamps, vises, and fixtures are appropriate for the material and the operations to be performed.
- Check Stability: Make sure the workpiece is stable and secure. Any movement during machining can cause inaccuracies or damage.
- Optimize Tool Paths: Arrange the setup to minimize tool changes and movements. This reduces cycle time and improves efficiency.
- Test and Adjust: Run a test operation to ensure everything is set up correctly. Make adjustments as needed to achieve optimal results.
Example: Setting Up a Complex Part
Consider the example of machining a complex aluminum part with multiple operations:
- Initial Setup: Position the aluminum block in the center of the worktable using adjustable clamps. Ensure the clamping depth is 10 mm to avoid interference with the tool path.
- Tool Offsets: Assign tool offsets for the various tools (T01, T02, T03) to be used in the machining process.
- Reference Points: Set the reference point (G54) to establish a consistent starting position for all operations.
- Support Devices: Use a tailstock to provide additional support for the part during long drilling operations, preventing deflection and ensuring accuracy.
By following these steps, the machining process will be smoother, and the final part will meet the desired specifications.
Optimizing workpiece setup in CNC machining is crucial for achieving precision, efficiency, and safety. By carefully selecting the appropriate installation methods and support devices, creating detailed setup sheets, and following practical tips, you can ensure that your CNC operations run smoothly and produce high-quality results. Whether you’re working on simple parts or complex assemblies, the right setup can make all the difference.
Other Articles You Might Enjoy
- The main factors of workpiece deformation in CNC machining
With the rapid development of science and technology, many fields have already reached a near-saturated state. The market competition in the field of CNC machining is becoming more and more…
- Precision CNC Machining of Steel: High-Volume Production
Precision CNC Machining and High-Volume Production As an integral part of modern manufacturing processes, Precision Computer Numerical Control (CNC) machining brings about unmatched accuracy and consistency in the production of…
- Material Versatility in CNC Machining: From Titanium to Thermoplastics
Introduction to CNC Machining CNC machining stands as a cornerstone in the manufacturing sector, enabling the precise creation of parts and components. This process utilizes computer numerical control (CNC) to…
- Precision CNC Machining for High-Performance Industrial Machinery
Precision CNC Machining for High-Performance Industrial Machinery The process of Precision CNC (Computer Numerical Control) machining is at the core of manufacturing high-performance industrial machinery. This technique leverages a computer's…
- Nickel vs. Cobalt Alloys in High-Temperature CNC Machining: A Detailed Analysis?
Nickel and Cobalt Alloys in High-Temperature CNC Machining Both Nickel and Cobalt alloys play an essential role in high-temperature CNC machining. These metal alloys are popular choices due to their…
- CNC Machining for Medical Applications: Compliance and Material Selection?
Introduction to CNC Machining in Medical Applications CNC or Computer Numerical Control machining is a manufacturing process wherein pre-programmed computer software dictates the movement of factory tools and machinery. This…