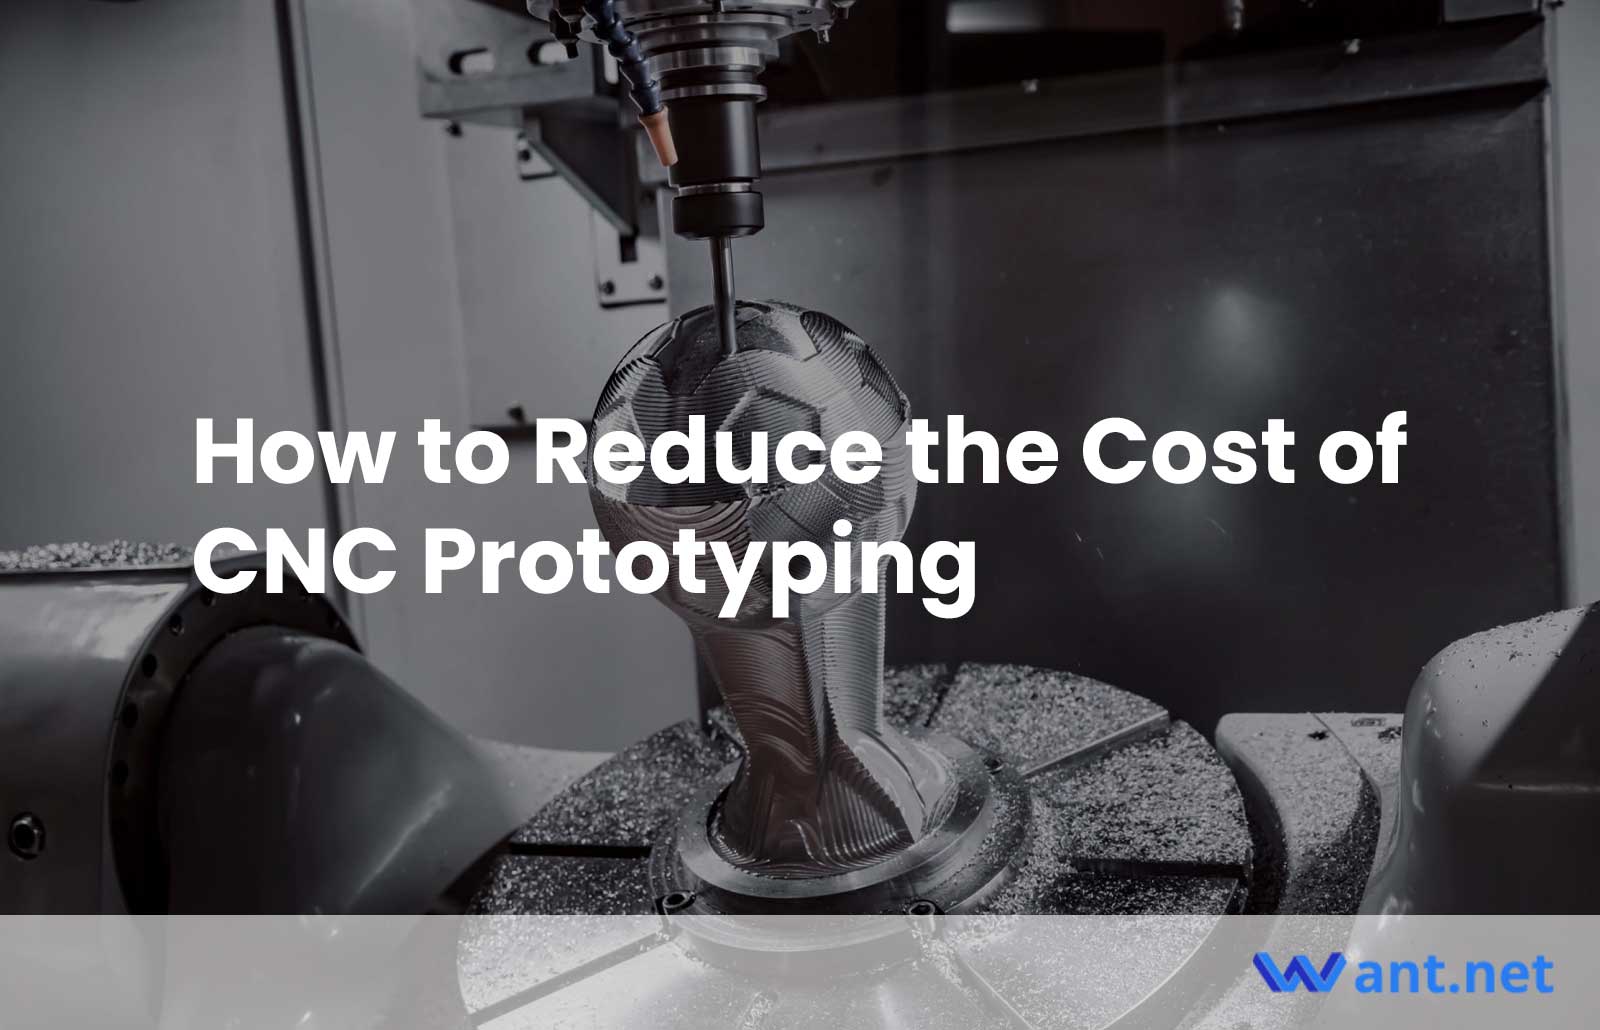
CNC prototyping offers tremendous opportunities for product development and manufacturing, but it can also come with a hefty price tag. With the right approach, however, you can significantly reduce the costs associated with CNC prototyping. By implementing the following strategies, you’ll be able to achieve cost savings without compromising the quality of your final product.
#1. Carefully Select the Metal
The choice of material plays a crucial role in CNC prototyping. While some beginners may overlook its significance, it can have a substantial impact on both cost and efficiency. Instead of defaulting to construction steel or opting for expensive alloys like titanium or stainless steel, consider the specific requirements of your project.
If you have a large volume of machining to be done, aluminum might be the optimal choice. Its favorable properties allow for faster processing, which can result in significant savings in machining time. Remember, it’s not just the cost of the alloy that matters; the overall economy and time saved during the machining process are equally important factors to consider.
Additionally, avoid selecting materials that exceed your project’s temperature requirements. Opting for a higher-grade material that can withstand temperatures well beyond what is necessary will only complicate the CNC machining process and incur unnecessary expenses.
#2. Incorporate Base Elements
Reducing setup time is another effective way to minimize CNC prototyping costs. By incorporating base elements into your part design, you can streamline the preparation phase. These base elements provide consistent surfaces for securing the prototype blank on the machine tool.
For instance, if you’re working on a shaft-type part, consider incorporating two taper holes on its faces. These holes will facilitate easy fixation into the lathe centers, thus simplifying the setup process. Similarly, if your part is box-type and needs to be milled, adding a plane with two perpendicular holes can greatly expedite the setup.
By strategically incorporating base elements, you can significantly reduce the time and effort required for machine setup, ultimately saving costs.
#3. Simplify Surface Complexity
When aiming for rapid prototyping, it is advisable to avoid excessively complex surfaces with high smoothness requirements. Such surfaces often necessitate the use of small end-mills with spherical tips for finishing. The small stepover required by these tools makes the process time-consuming, particularly for larger complex surfaces.
To save time and cost, opt for simpler surface designs whenever possible. By minimizing intricate details and smoothness requirements, you can expedite the machining process and achieve substantial cost savings without compromising the functionality of the prototype.
#4. Steer Clear of Thin Walls and Deep Pockets
CNC prototyping involves significant force and friction during the cutting process. To ensure effective material removal, cutting forces need to be substantial. However, excessive force, blunt tools, or improper cutting parameters can lead to undesired deformations, especially in thin and elongated parts.
To mitigate this issue, focus on designing prototype parts with thicker walls. Thicker walls provide enhanced rigidity, minimizing deformations caused by cutting forces. While reducing cutting parameters might counteract this problem, it can lead to increased machining time. Striking the right balance between wall thickness and cutting parameters is essential to minimize costs while maintaining the integrity of the part.
#5. Consider Ordering a Small Batch
When there is a possibility of needing multiple prototypes for testing or future use, it is more cost-effective to order a small batch upfront instead of individual parts. By doing so, you eliminate the need for the machine shop to set up their tools multiple times, resulting in reduced overall costs.
Planning ahead and ordering in batches can lead to substantial savings. It not only minimizes the time and effort required for machine setup but also takes advantage of economies of scale, as manufacturers often offer more competitive pricing for larger orders.
#6. Determine Precision Requirements
While precision and high surface finishes may seem desirable, they often come at a higher cost. Achieving these specifications typically involves using grinding machines and undergoing heat treatment processes. Heat treatment alone can take at least a day, as the part needs to be heated, left to cool down, and then further processed.
To optimize costs, it is advisable to assess the criticality of precision and surface finishes for each part. Focus on assigning higher tolerances and finishes only to the most crucial surfaces, while keeping the majority of surfaces at lower tolerance levels. This approach reduces the need for time-consuming grinding processes and heat treatment, resulting in significant cost savings without compromising the functionality of the prototype.
By implementing these strategies, you can effectively reduce the costs associated with CNC prototyping. Carefully selecting the appropriate material, simplifying designs, and considering batch ordering can all contribute to significant cost savings. Remember, achieving cost efficiency doesn’t mean sacrificing quality; it’s about making smart choices at every stage of the prototyping process.
Recommended Reads:
- Brief History of CNC Machines: Update 2023
- Aerospace Machining: Definition, Materials & Precision Machining Process
- What Is the Job of CNC Miller? Ultimate Guide (2023)
- How to Operate CNC Turning Machine? Programming & Procedure
- 3 Types of CNC Milling Machines: Process & Production
- 15 Machining Design Guidelines for Beginners
Related Posts
- How To Reduce The Cost of CNC Machining
Many people may think CNC machining is easy and cheap because of the high degree of automation. But CNC machining manufacturers have to consider the cost of owning and maintaining…
- 3 Effective Strategies for Cost Optimization in CNC Prototyping
When considering the production of CNC prototypes, cost is often a top concern. As designers, we strive to find ways to reduce expenses and enhance production efficiency. In this article,…
- Unraveling Bead Blasting Process in CNC Machining(cnc machining china Sid)
Bead blasting is a significant process within the realm of Computer Numerical Control (CNC) machining, providing numerous industries with quality finishes for various types of products. From aircraft parts to…